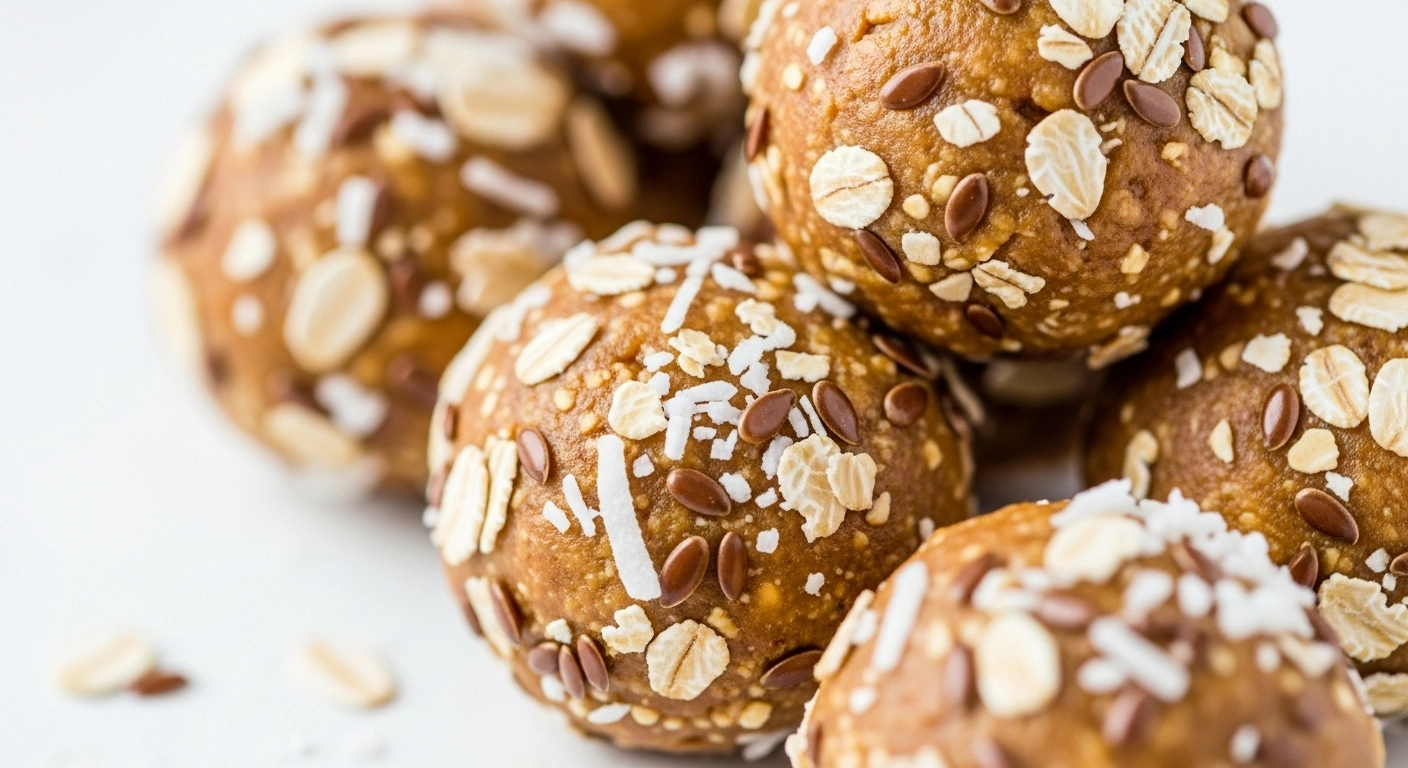
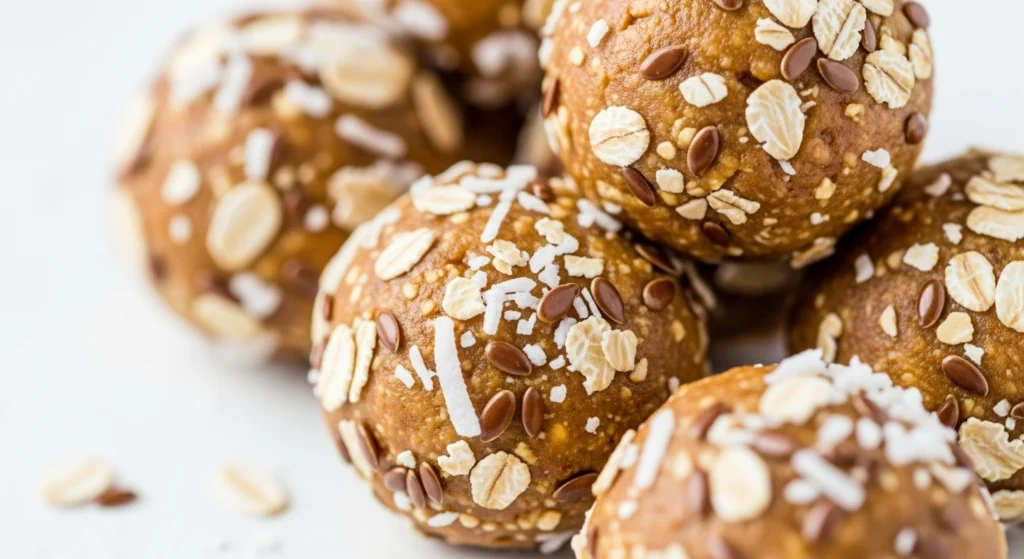
Healthy Peanut Butter Banana Energy Bites for On-the-Go Snacking
Why You’ll Love This Recipe
Need a quick snack that’s delicious and actually good for you? These Healthy Peanut Butter Banana Energy Bites check all the boxes. Whether you’re dashing out the door for work, fueling up before a workout, or just craving something sweet without the guilt—this snack is your answer.
Here’s why they’re a game-changer:
- No baking required. That’s right—zero oven time. Just mix, roll, refrigerate, and enjoy!
- Ready in 15 minutes. Prep is super quick, making it easy to whip up a batch whenever.
- Nutritious and satisfying: Packed with healthy fats, protein, and natural sugars to keep you full and energized.
- Kid-friendly favorites: Even picky eaters love these bite-sized treats.
- Customizable: Add oats, substitute nut butters, or toss in a handful of chocolate chips if you’re feeling indulgent.
Let’s be real—how often do you find something that satisfies both your sweet tooth and your nutritional goals? These bites manage to do just that with a handful of pantry staples. Simple, wholesome, and totally snack-worthy!
Essential Tools and Equipment
Fortunately, this recipe keeps it super low-fuss. You’ll only need:
- Medium mixing bowl – For combining your ingredients smoothly.
- Fork or potato masher – To mash the ripe banana with ease.
- Mixing spoon or spatula – For stirring everything together.
- Measuring cups and spoons – Accuracy helps with texture and balance.
- Baking sheet or plate – To place the energy bites when shaping.
- Parchment paper or wax paper (optional) – For mess-free chilling.
- Refrigerator – To firm up the bites before serving.
No food processor, blender, or oven needed—just a bowl and some honest handiwork.
Preparation Tips
Want perfect energy bites every time? Here are a few pointers to keep in mind:
- Use overripe bananas: The riper the banana, the sweeter and softer your bites will be—no added sugar needed!
- Natural peanut butter works best: It blends more easily than processed versions and adds wholesome flavor.
- Chill the mixture if sticky: If the dough is too soft to roll, pop it in the fridge for 10–15 minutes to firm up.
- Make ahead and freeze: These freeze beautifully. Prep a batch and store for up to 3 months.
- Get the kids involved: Mashing, rolling—this recipe is a great hands-on activity for little helpers.
Preparation shouldn’t be stressful. With these tips, you’re practically guaranteed snack success on your very first try.
Ingredients List

Here’s what you’ll need (nothing fancy, promise!):
- 1 large ripe banana, mashed well
- ½ cup peanut butter (preferably natural and unsweetened)
- 1½ cups rolled oats (use gluten-free if necessary)
- ¼ teaspoon ground cinnamon (optional, but adds warmth!)
- ½ teaspoon vanilla extract
- A pinch of salt (optional, enhances flavor)
Want to boost things up? Try adding:
- 2–3 tablespoons mini chocolate chips for a sweet touch.
- 1 tablespoon chia seeds or ground flaxseed for extra nutrients.
- Chopped nuts or dried fruits if you like texture variation.
You can totally make this recipe your own depending on what’s in your pantry!
Step-by-Step Directions
Ready to whip up these no-bake wonders? Follow these simple steps:
- Mash your banana: In a medium bowl, use a fork or masher to squash the banana until smooth and creamy.
- Add the peanut butter: Stir it into the mashed banana until fully combined.
- Mix in remaining ingredients: Add oats, cinnamon (if using), vanilla extract, and salt. Stir until evenly coated. Add any optional mix-ins here.
- Check consistency: Mixture should be sticky but able to hold shape when rolled. If it’s too wet, add a spoonful of oats. Too dry? A dab more peanut butter.
- Shape into balls: Using your hands, roll into 1-inch balls (roughly the size of a walnut). Place them on a plate or baking sheet.
- Chill to firm up: Refrigerate for at least 20 minutes. They’ll set up nicely and be less sticky to the touch.
- Serve or store: Enjoy right away, or transfer to an airtight container for later.
That’s it—no sweat, super tasty!
Common Mistakes to Avoid
Even simple recipes can go sideways. Here’s what to look out for:
- Using unripe bananas: They’re not sweet enough and harder to mash. Wait until they’re spotty and soft.
- Too much moisture: If your mixture won’t hold shape, it probably needs more oats. Start with small additions.
- Over-compacting the mixture: Don’t pack your balls too tight—they’ll end up dense instead of pleasantly chewy.
- Skipping the chill time: Give them 20 minutes in the fridge to firm up. If you skip this, they’ll feel too soft.
Basically, let the ingredients work with you. If something feels “off,” a quick adjustment is all it takes.
Best Side Dishes
Looking to round out your snack or turn these into a mini meal? Pair your energy bites with:
- Greek yogurt drizzled with honey: Adds protein and creaminess to balance your snack.
- Fresh fruit like berries or apple slices: A light, juicy contrast to the nutty bite.
- Smoothie or smoothie bowl: Blend up a banana-strawberry smoothie for a refreshing pairing.
- Iced coffee or matcha latte: Because who doesn’t love a perfect coffee + snack combo?
Each of these enhances the bites without overpowering them. Sweet, nutty, fruity—it’s a snack time win!
Expert Recipe Tips
Want to level-up? These expert tips will make your bites practically gourmet:
- Toast your oats first: Lightly toasting oats in a dry pan brings out their nutty aroma. Total flavor upgrade!
- Almond or cashew butter swap: Not a peanut fan? Try almond or cashew butter for a different flavor profile.
- Add protein powder: Mix in a scoop of your favorite vanilla protein powder for an extra fitness-friendly version.
- Rolling helper tip: Use a small cookie scoop for uniform size. Less mess, more consistency.
- Drizzle with dark chocolate: For a special treat, melt a bit of chocolate and drizzle it over each bite before chilling.
These little tweaks turn your basic bites into something even snackroom envy-worthy.
Storage and Reheating Instructions
Luckily, these energy bites are more low-maintenance than most snacks.
- Refrigerator: Store in an airtight container for up to 5 days. No need to reheat—just grab and go!
- Freezer-friendly: Flash-freeze on a baking sheet, then transfer to a freezer-safe container. Keeps well up to 3 months.
- Thawing: Let them thaw in the fridge overnight or sit at room temp for 15–20 minutes before snacking.
Perfect for meal prep, late-night snacks, or busy mornings.
Frequently Asked Questions (FAQs)
1. Can I use instant oats instead of rolled oats?
Yes! Rolled oats offer slightly more chew, but instant oats work great and blend in even more smoothly.
2. What if I don’t like bananas?
You could try replacing banana with unsweetened applesauce or pumpkin purée for a different flavor twist. Texture may vary, so adjust oats as needed.
3. Are these energy bites gluten-free?
They can be! Just make sure your oats are certified gluten-free.
4. Can I add sweetener if I want them a bit sweeter?
Absolutely. A drizzle of honey, maple syrup, or even a couple of chopped dates can sweeten them to your liking.
5. Are they safe for nut allergies?
If you’re avoiding nuts, sunflower seed butter or soy butter is a great nut-free alternative.
Final Thoughts
Isn’t it amazing when something simple tastes so good and does your body a favor too? These Peanut Butter Banana Energy Bites are proof that healthy doesn’t have to mean boring. They’re lightly sweet, chewy, creamy, and just indulgent enough to satisfy your sweet tooth—without the crash of sugary snacks.
Next time you’re craving a mid-day pick-me-up or in need of a nutri-packed snack for your gym bag, reach for these no-bake bites. ❤️
Tried the recipe? Let me know how it went in the comments below! Got your own spin on it? I’d love to hear about your favorite mix-ins—or how your kids helped roll them!
And if you loved this no-fuss snack, check out our other healthy treat ideas like these Bliss Balls or No-Bake Oatmeal Bars.
Go ahead—save, share, and snack happy. You’ve got this! ✨